Initial Setup: SNG Mailchimp
Once the SNG Mailchimp plugin is installed and activated, follow these steps to configure the plugin and start sending your day ahead notifications to clients.
Accessing the Settings
- Navigate to WP Admin → SNG Mailchimp → Settings.
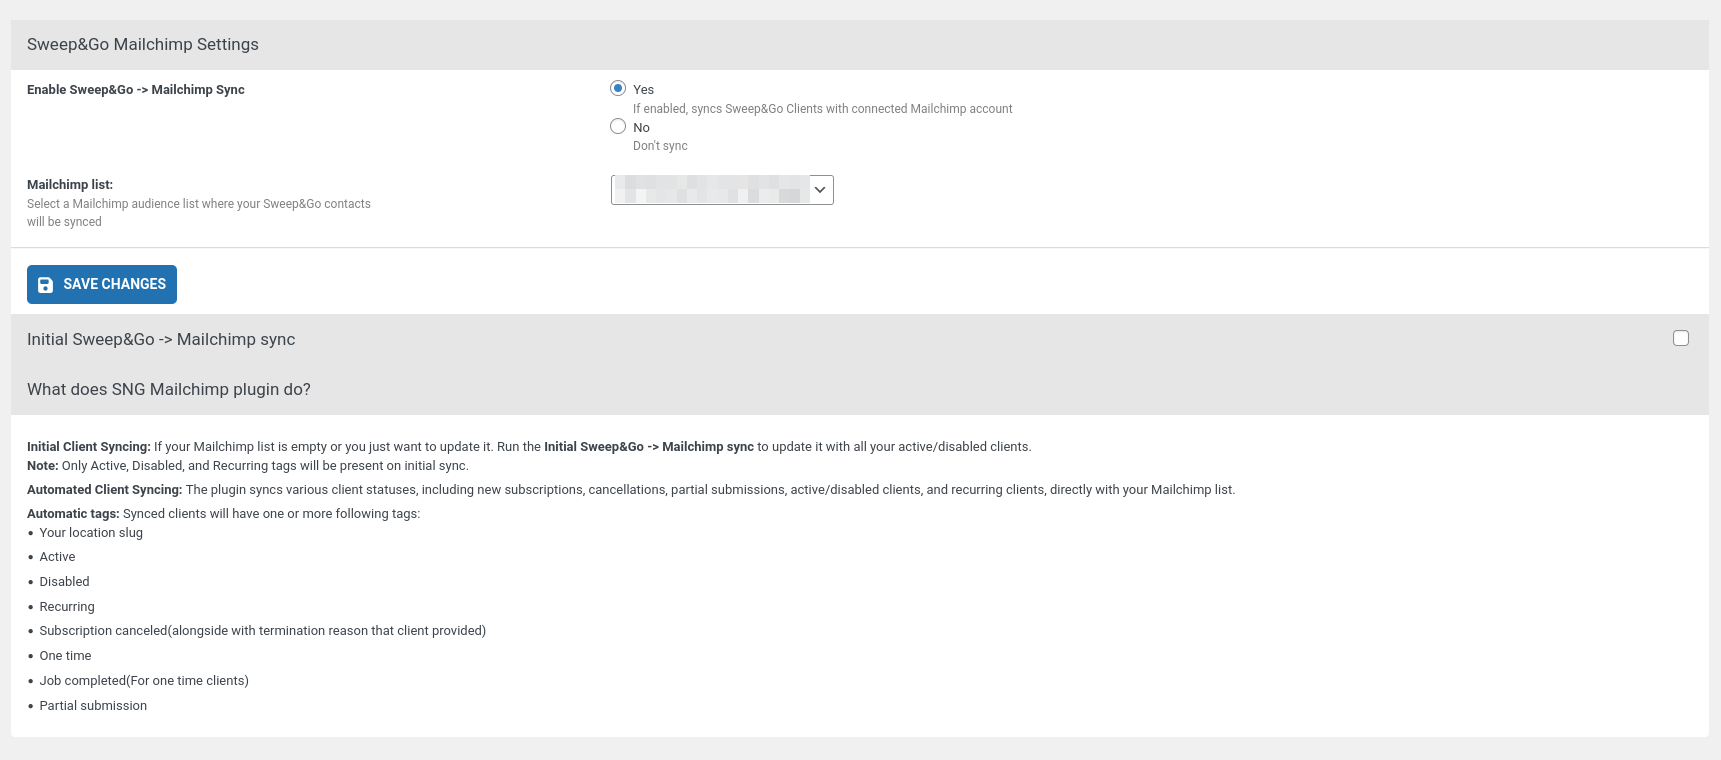
- You will find the main settings interface with the following options:
Settings Overview
Note
To be able to access the settings, you first must connect your Mailchimp account inside Sweep&Go Core, you can check how to do that here
Enable/Disable Mailchimp sync
- Yes: Activates the Mailchimp sync.
- No: Deactivates the Mailchimp sync.
Mailchimp list
- Select one of your Mailchimp list where you want your clients to be synced
- Click Save Changes to save the updates
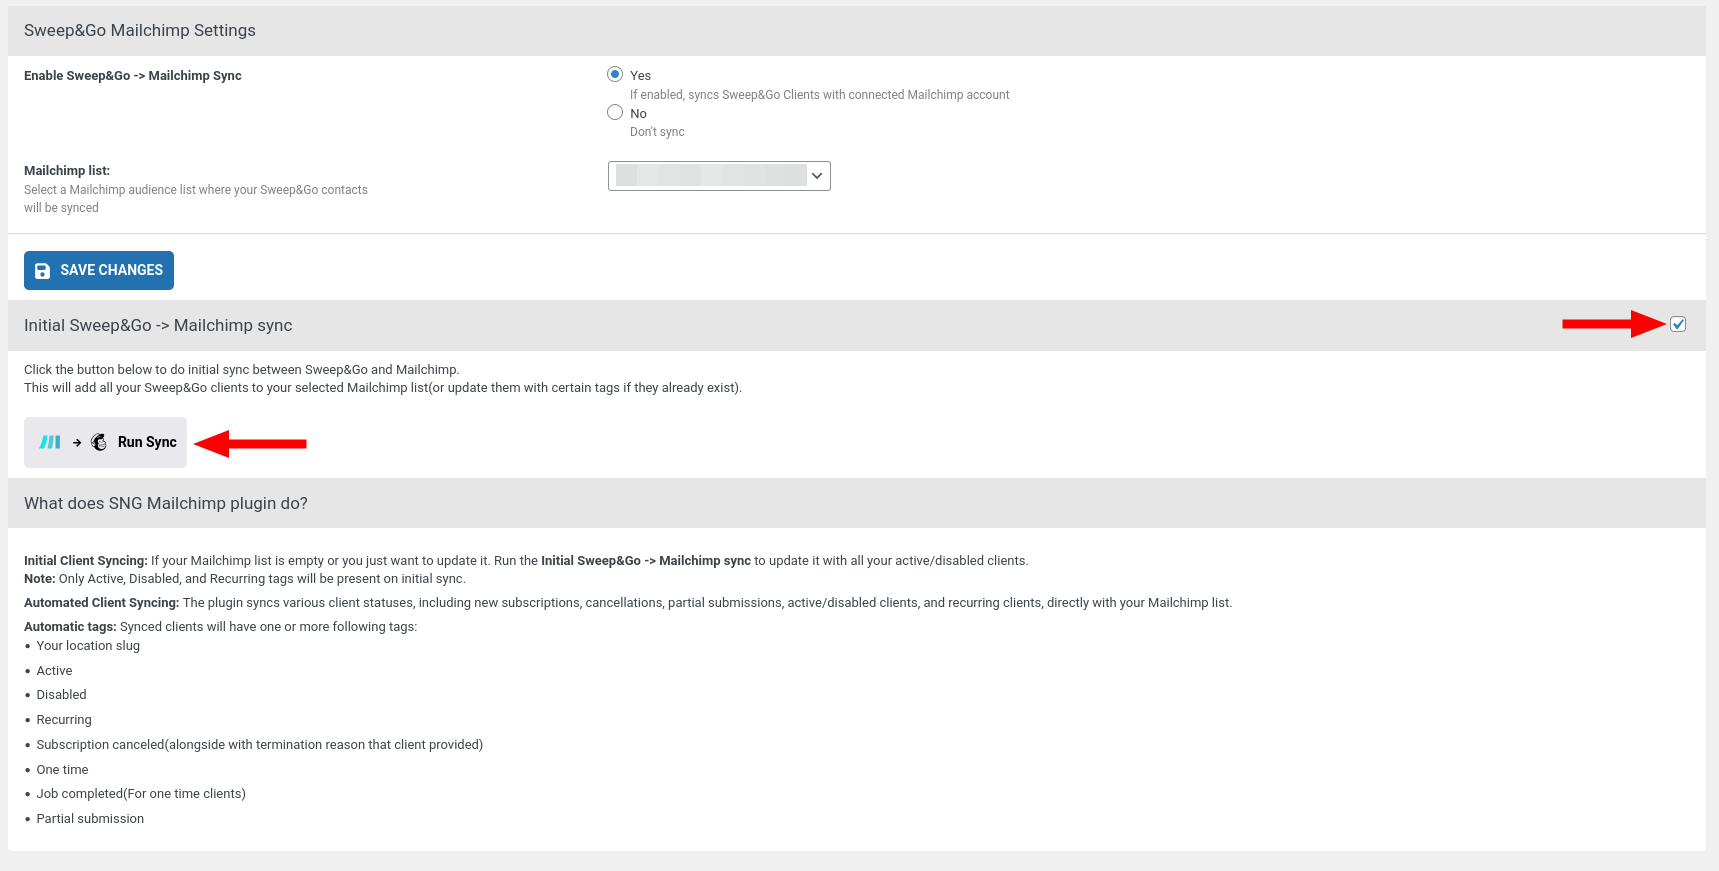
Initial Sweep&Go → Mailchimp sync
If your list is empty or you just want to update it, you can run the initial sync which will pull all your clients from Sweep&Go and import them into your Mailchimp account

